Showing posts with label deconstructed screenprinting. Show all posts

Sunday, December 9, 2012

"Letters" challenge deadline approaches

A week from tomorrow is our annual holiday potluck/meeting.  We're having it at Deb's again because it was so much fun last year (and she didn't mind hosting again this year!).  We'll each show our finished pieces for the current "Letters" challenge and much of it will be a surprise.   Interestingly, it seems that there's been much less previewing of our work in progress this time than there was with past challenges.

Soon after the "Letters" theme was suggested as our next challenge, I had the idea of secret writing.  I was also playing around with some encaustic wax projects and wanted to incorporate that  into this challenge

Here is the encaustic bit that I'll add to my "Letters" piece:
Layers of writing on watercolor paper, dipped into encaustic wax.
Previously, we've shared our challenge quilts throughout their construction.  Some members were simply excited to show what they'd done so far, while others sought specific design feedback (Do the colors flow?  Does the quilt have enough contrast?  Does it keep the viewer's eye moving through the piece?)  One of the beautiful things about our group is the willingness of members to share their knowledge and their generosity in offering valuable suggestions in a completely noncompetitive manner. We've created a very supportive environment where members feel safe enough to show work that may they feel less than confident about.  Unfailingly, someone will speak up about the elements of that design that do work, and others chime in with thoughtful ideas and suggestions, sharing even their favorite tips and tricks.  Such encouragement is like a shot of confidence for the recipient.

So it seems that we're all growing more confident and have less need to get feedback while our challenge pieces are in progress.  I'm excited about that.  I've often thought it would be more exciting if our challenge deadlines were actually unveilings where we'd see each others' quilts for the first time.

That being said, I realize I'd have even less reasons for posting on this blog if I didn't show my work in progress (or my design dilemmas, and of course there have been plenty this time, as always). 
A section I've pieced, including rust-dyed silk (left), deconstructed
screenprinting (blue spirals),  and a Thermofax screenprint (lower middle in blue).

Hand-dyed silk; 3 needlefelted pieces incorporating hand-dyed cheesecloth,
rust-dyed silk, wool and silk rovings.
Still much to do to get this finished by next week.  The ideas continue to flow, so I'll keep working on it until it feels like enough!

Monday, August 27, 2012

Sunsets and Screenprinting

One thing I love about Oregon's Willamette Valley is the sunsets.  It was partly cloudy today, which makes for a more interesting sky when the sun begins its evening descent.

Tonight's sunset.
 . . . and a few minutes later.
 Yesterday I did some deconstructed screenprinting.  First, I removed the items I'd embedded in the thick, wet thickened Procion dye on the back of a silkscreen, after making sure the dye was very dry.  Then I mixed up some print paste (urea, sodium alginate, water) and let it thicken.  The screen was placed on top of  my soda-soaked fabric, and print paste was spooned into the "well" at the (inside) top of the screen.  A squeegee was used to pull the print paste across the screen, which releases the dried dye on the back and prints the image.
Ready to pull the next print onto fabric.
Ink remaining on screen after deconstructed screenprinting.
The mess in my kitchen nook (AKA my printmaking studio!)
Wet prints on fabric, ready for batching.
 Today I rinsed the batched fabrics, then wash, dried, and ironed them.  I got a few nice surprises (always the best part), as well as a few duds.
Series of prints from one screen.
Detail shot of print from another screen.


When I finished working with the screens last night, I did a little dye-painting (painting with thickened dyes).  Since the next Fiberexplorations challenge is LETTERS, I played with writing, using a narrow paintbrush and for the very thin lines, a curved plastic syringe from the veterinarian's office.
Detail of dye-painted piece.

Sunday, August 19, 2012

A summer Sunday afternoon

How do you decide what to do with hours and hours of free time on a beautiful summer Sunday afternoon?   There's an art fair in nearby Silverton, a small town nestled in the western foothills of the Cascades.  But since I want the day to be both enjoyable and productive, I've narrowed down my choices:
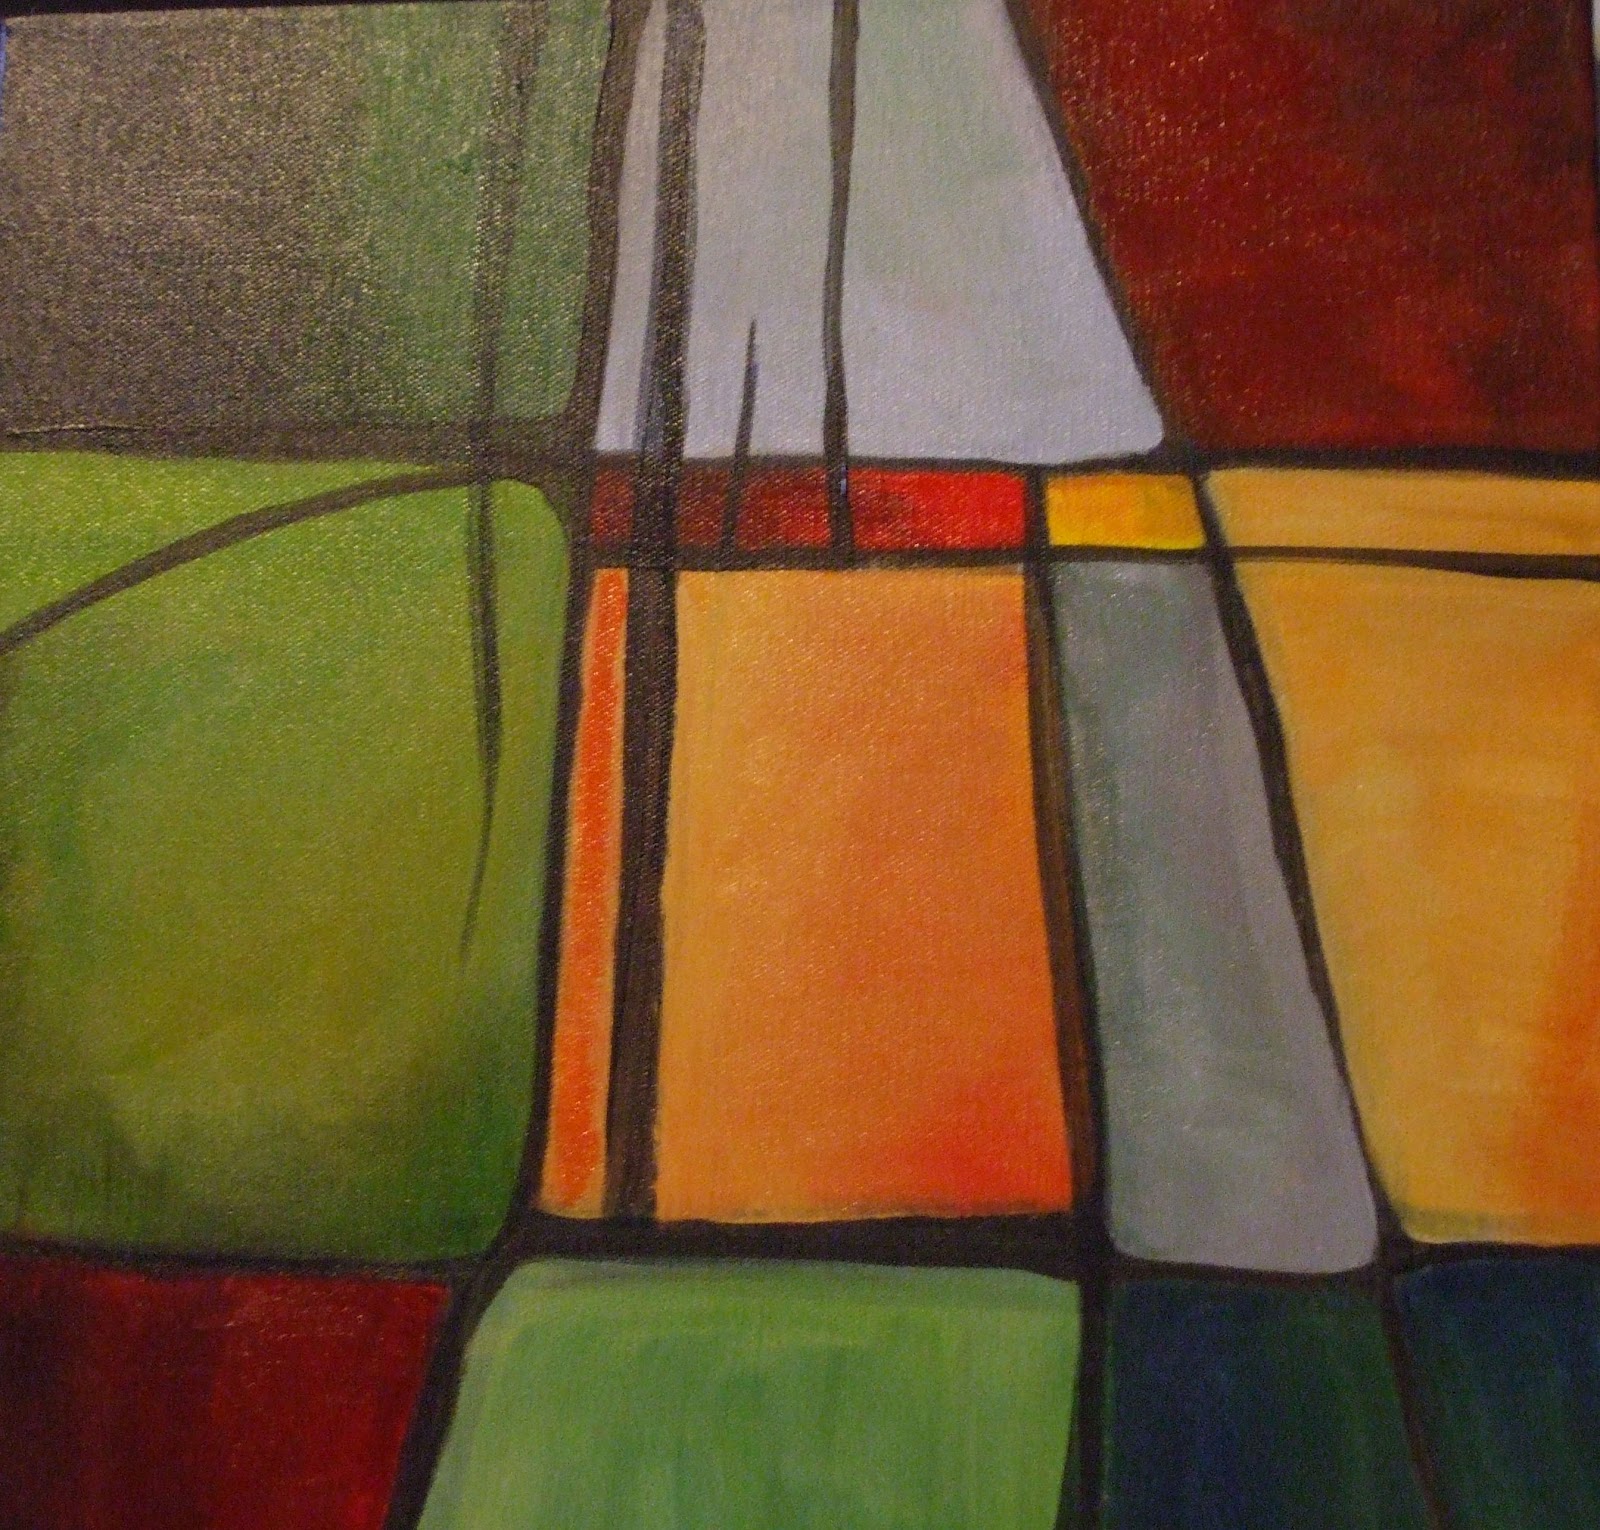
1.  Sewing: Continue work on the small piece I started last week, which is a fabric interpretation of an abstract painting by Katy Vigeland.  Katy's a friend from the other group I'm in, the Salem Art Group (SAG).  I instantly fell in love with these two abstract paintings that she brought to a meeting last fall:

Abstract painting by Katy Vigeland.
Another of Katy's abstract paintings.


This is the first of Katy's paintings I chose to interpret in fabric.
The start of my interpretation of her first painting above.

Some of the other fabrics to be fit into place and stitched.
 2.  Dyeing: A great option for a warm (but not too hot) sunny day!  I mixed up a flour-paste resist and scraped it across this white fabric (taped down to a foamcore board covered with clear Contac paper).  While it was still wet, I scratched some wavy lines into it with an "Afro pick" comb, then used a bamboo skewer to draw other shapes and doodles, plus a bit of writing.
(Dried) flour-paste resist on white PFD fabric

Words and textures scratched into the surface.

A bit more doodling.


My next step is to remove the tape and scrunch up the fabric to make the dried flour-paste crinkle and crack.  Then mix up the dye solutions and apply.  The dye will only penetrate where the fabric is exposed (through the scratches and cracks).  It's always exciting to see the surprises that result from using resists!

I'll also add some thickener to some dye colors for deconstructed screenprinting.  After the thickened dyes are dribbled down the back of the screen,  textured objects are embedded into it and left to dry.  More on the process (and my results) in the next post.

3.  Find new design inspiration:  I played around with some watercolors last week with the goal of then using two L-shaped cropping corners to find what Katie Pasquini Masopust calls "the heart of the image," an area that can be used as the design basis for an art quilt.  (This is just one of the great ideas I've rediscovered while looking through Katie's book Design Explorations for the Creative Quilter.)

My first page of watercolor play -- not very interesting.
My second effort was more exuberant and probably has some areas of interest.
I choose dyeing!  I'll post my results later.