Friday, June 22, 2012

Progress Report on our Challenge Quilts

At our June meeting earlier this week, everyone brought their challenge quilts to show.  We're all  at different stages of construction, and a few were complete, or very close to being completed.  Here's a quick peek:

Maureen adding the dancing shoes to her piece, but wait til you see what she adds at the end!
Maureen's quilt top.


 Torrie's almost finished -- she has a change she wants to implement, then it's just the quilt label to add.
Torrie's quilt.
 Deb, of course, has been finished for awhile.
Deb's finished quilt.
 Kathleen, queen of fabric collage, is trying out "confetti-style" design with this one:
Kathleen's top

Kathleen's confetti-style tree tops.
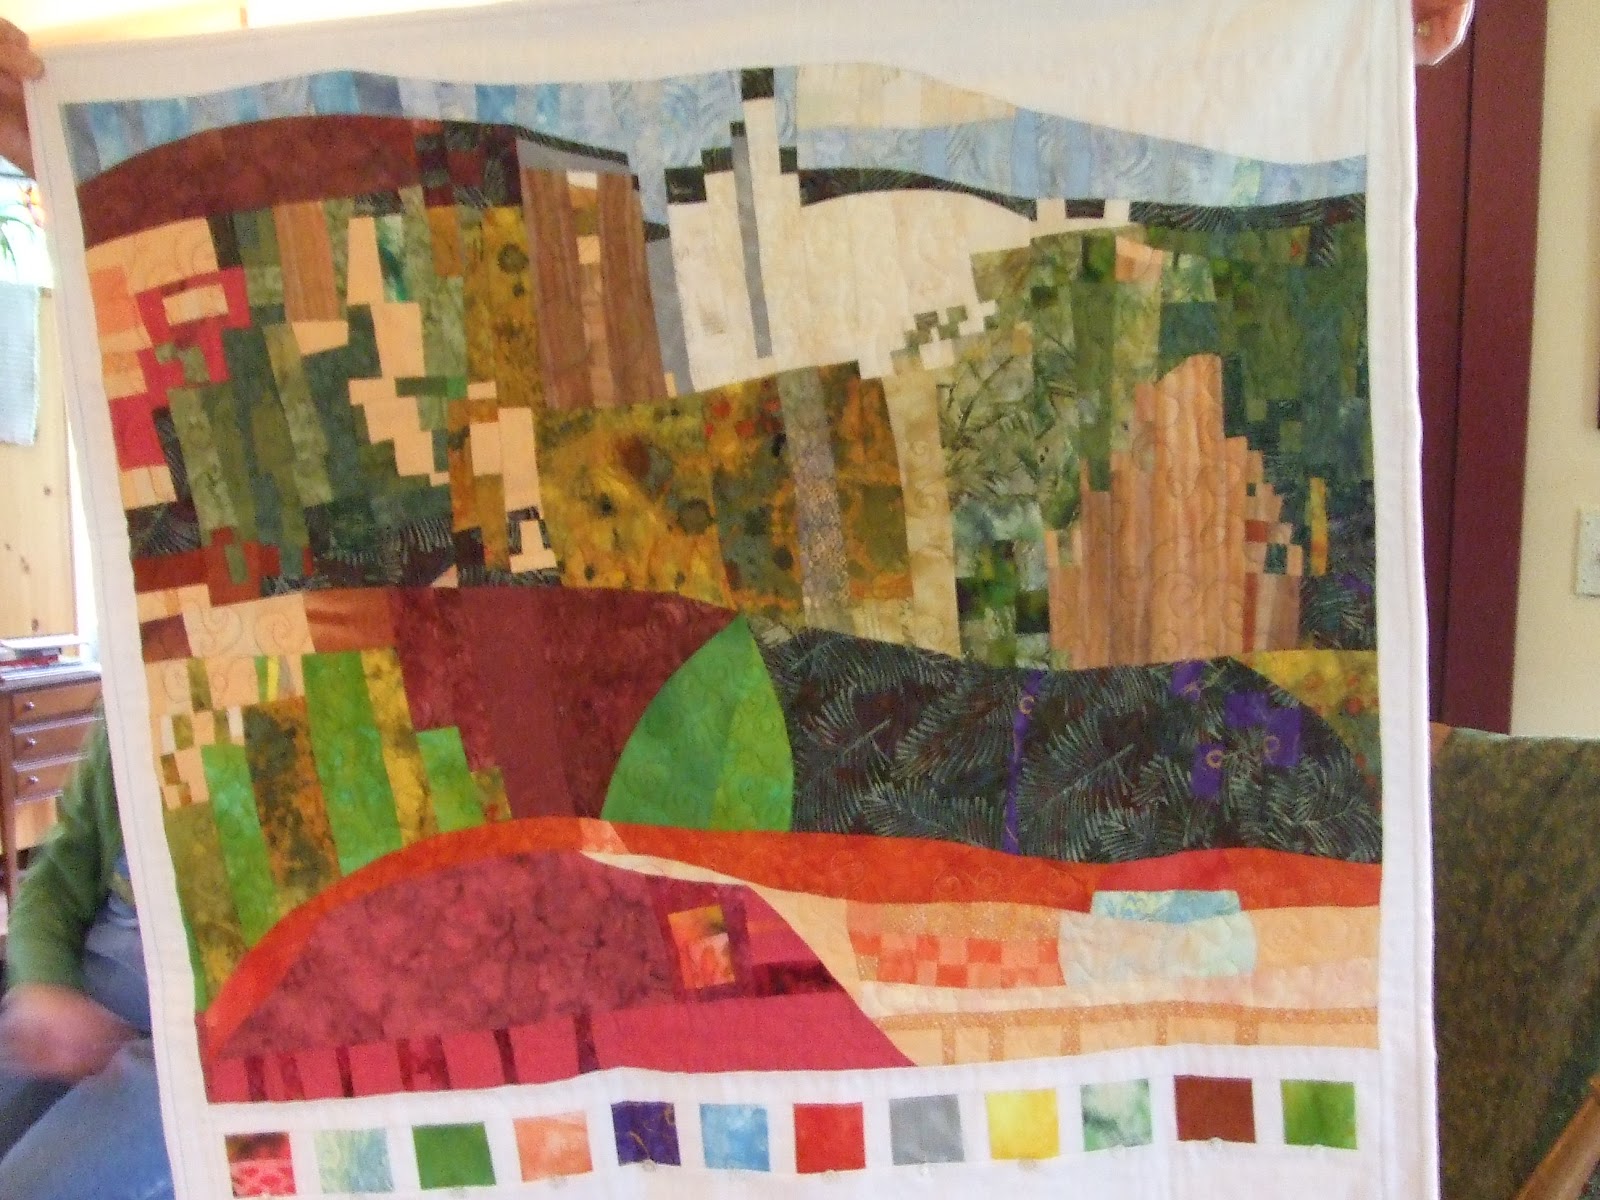
 Sorry, Erika!  I can never seem to get a good photo of your quilt!  It's either out of focus, half-shaded, or something else, so I'm showing three shots of your piece, which is almost finished:
Erika's quilt.

Top of Erika's quilt, showing metal wire embellishment, followed by a row of gems.

Side of Erika's quilt with beautiful double-needle machine quilting.
 Lisa's quilt features a giant 9-patch.  The colored blocks are made entirely from the fabric swatches we exchanged, and the four white blocks are pieced to perfection!
Lisa's 9-patch perfection.
And Maya showed us the very elegant sample she made to work out her design plan.  Now she has to remake it to measure 36" x 36!  Everyone ooh'ed and ahh'ed at her creative approach:
Maya's sample web design.
I see that I forgot to get a shot of Chris' quilt. There's an earlier shot in the previous post, and since then, she's hand-appliqued the large autumn leaves to the background, threadpainted the leaf veins, and added scrumptious white velvet.  Wow-wee!

As for mine, it's still under construction and last night I started the sunset section over.  I had too much trouble piecing the extreme curves I'd designed (and I said I wanted a challenge!), so I got out my Setacolor paints and painted the sunset portion.  Now to catch up . . . two weeks and a day til the deadline!


Wednesday, May 30, 2012

Progress of members' challenge quilts

Here are the photos of other members' challenge quilts at our May 21st meeting:

Chris finished piecing her quilt top, and began hand-appliqueing the leaves.
It will be gorgeous when the rest of the leaves are applied!
Erika's quilt on the design wall.
 Apologies for the blurriness of these photos.  We were fast losing sunlight and trying to compensate by turning on all the lamps and overhead lights . . .
Top of Erika's quilt.  The row of single squares shows
all 12 surface-designed fabric swatches from our exchange.
Bottom of Erika's quilt.
Maureen's music-inspired piece also showcases
our 12 fabric swatches (center, bottom).
We didn't get to see everyone's work-in-progress, as some members were traveling and others' quilts were still at their homes, pinned to design boards or in too many pieces to transport to the meeting.  As usual, I seem to have made the least progress!  I can never seem to get cookin' until a deadline is looming too close for comfort.  And even then, I'm still changing my mind . . .
My painted and thread-painted bubble trees, where
the resist failed to hold back the paint!
Technique:   Working with a resist* in a small plastic bottle with a thin metal applicator tip, I outlined the areas that would become tree trunks, branches, the half-circle shaped "bubble," as well as the edge of the grass line.  (* I used Presist, a water-soluble resist that works on cotton fabrics.)  Once the resist was thoroughly dry,  I sprayed a light mist of water on the grassy area before painting it with diluted Setacolor paint, knowing that would help the paint blend.  I should have remembered to suspend the fabric onto stretcher bars (as in silk painting), and because I didn't, the wet fabric clung to my plastic-covered painting surface and the green paint migrated above the resist lines of the grass.  Elsewhere, I painted on dry areas and the paint stayed within the lines (except for a bit on the far left).  Once the paint was dry and heat-set, I rinsed out the Presist, then began thread-painting, a technique I love.
This was a fun experiment, though not 100% successful.    I overdid it on the smallest tree on the right. Earlier, when applying the Presist there, I had problems getting it to flow in a  smooth, thin line.  The resulting blobs meant that after rinsing out the Presist, the white areas to be thread-painted were much wider than in the other two trees.
And after this experiment, I realized that the scale of the trees was all wrong.  So it's back to the drawing board.

Monday, May 21, 2012

Happy 3rd Anniversary!

For the Fiberexplorations group, this month marks our third anniversary!  I think that's cause for a celebration, and our monthly meeting is tonight.  Hmmm . . . cupcakes!  I still have time to make them.

Deb won't be at tonight's meeting, but she sent me a photo of  her almost-finished (just needs more quilting) challenge quilt  to share:

Deb Sorem's Fabric Swatch Challenge quilt.


I think it's exuberant, fun, unique, and expressive of her personality!  Hope to get more photos at tonight's meeting.

Saturday, May 5, 2012

A little silk painting

As usual, I'm procrastinating on starting my project for the current Fiberexplorations challenge.  That's not to say I haven't made any progress; it's just not direct progress.  I decided to add a river to my design, which allowed me to indulge my desire to do some silk painting, which I hadn't done in quite awhile.  I love how the colors flow, spread, and blend, and then to add salt, and watch the little bursts! come up . . . ooh la la!


Hand-painted silk.
Another view.

This time, I used silk satin, which is a little heavier and more luxurious-feeling than the lighter-weight China Silk (Silk Habotai) I used on previous projects.
And one more!
Now the hard part: cutting it up.  Do I cut the river out of one piece?  Or cut the whole thing up and piece it?  These are the types of decisions that keep me stuck in procrastinating.

Products used:  Jacquard Silk Color Dyes (Green Label)
fixed with: Jacquard Permanent Dyeset Concentration
on silk satin from Dharma Trading


Monday, April 30, 2012

Another "Small Wonder"

Yesterday's post was about the Small Wonders Challenge & fundraiser, and I mentioned that members Torrie and Deb each donated a quilt for that event.  I now have a photo of Torrie's entry.  Look closely, and you'll see her French knots and hand-stitching that meanders through the blocks -- it reminds me of tiny bird tracks.

Torrie's "Small Wonder" entry.


I like her interesting pieced work, and especially the small shots of red in the vertical blue strip on the right.   Can't wait to see all the entries this year!


Sunday, April 29, 2012

Deb's "Small Wonder" quilt

Two of our members, Torrie and Deb,  have submitted quilts for the Small Wonders Challenge.  Here's Deb's entry: 

"Sister's Temptations" by Deb Sorem
The Small Wonders Challenge and fundraiser is one of the highlights of the Sisters Outdoor Quilt Show (SOQS).  This is a judged contest (with prizes), and all donated quilts have to be of an original design.  Last year, over 80 entries were received, raising $1,100 for a local charity.

While I don't have a photo of Torrie's entry right now, I'll try to get one, as well as photos of other members' projects.   I just need to keep asking for them!

Wednesday, April 18, 2012

Spring beauty

Oregon's Willamette Valley is so green and lush this time of year.  I imagine it's a lot like Ireland.

This sedum-type ground cover that looks like tiny green stars.
   
My colorful tulips!
 Bleeding Hearts, just outside my back door.
Flowering cherry trees in the (Salem, OR) capitol mall.

Tuesday, April 17, 2012

Catching up with the other members

At our meeting last night, we got to tour Deb's new studio, a remodeling project that more than doubled her space.  She also has several windows that offer views of her beautiful yard, green and lush this time of year.   I believe she said there were 26 natural-light bulbs in the ceiling, so there are no shadows anywhere.  Her design wall was an ingenious 8' tall wall-mounted unit that she and her contractor thought up.  Wish I'd taken photos!  She said it's hard to leave the space now; she could work for hours and hours. 

Maureen's work is in a new show at the Currents Gallery in McMinnville, OR,  Recycled Art Show, with an artists' reception this coming Sat., Apr. 21.
Maureen's participating in this show!
As we began going around the room, I felt the familiar thrill of seeing what our other members are creating.  Within a few minutes, I was literally sitting on the edge of my seat.  Erika's nearly finished her challenge quilt, where most of us are just beginning ours.

Lisa gave us a slide show on her laptop of the week-long class she just took with Gloria Loughman at Empty Spools at Asilomar. Then she showed the small practice piece she made the first day: 
Lisa's sample from Gloria Loughman's class.
That seems like a great way to teach a new technique; it familiarizes everyone with all the steps, then they can proceed to the "real" (larger) project.   Gloria's new technique will soon to be available to all of us when her new book's released.  I know I'll want to try it!

I also got to see Kathleen's start on her challenge piece, using Noriko Endo's confetti technique to create an impressionistic landscape.  LOTS of little pieces!
 
Unfortunately, I had to leave after that, so I missed the other projects that were shared.  Next time I'll remember to take my camera!

Sunday, April 15, 2012

What I've been working on

I've been absent from the blog world for over a month; just a phase I'm going through.  As much as I love writing, it even surprises me when I stay away from here that long!
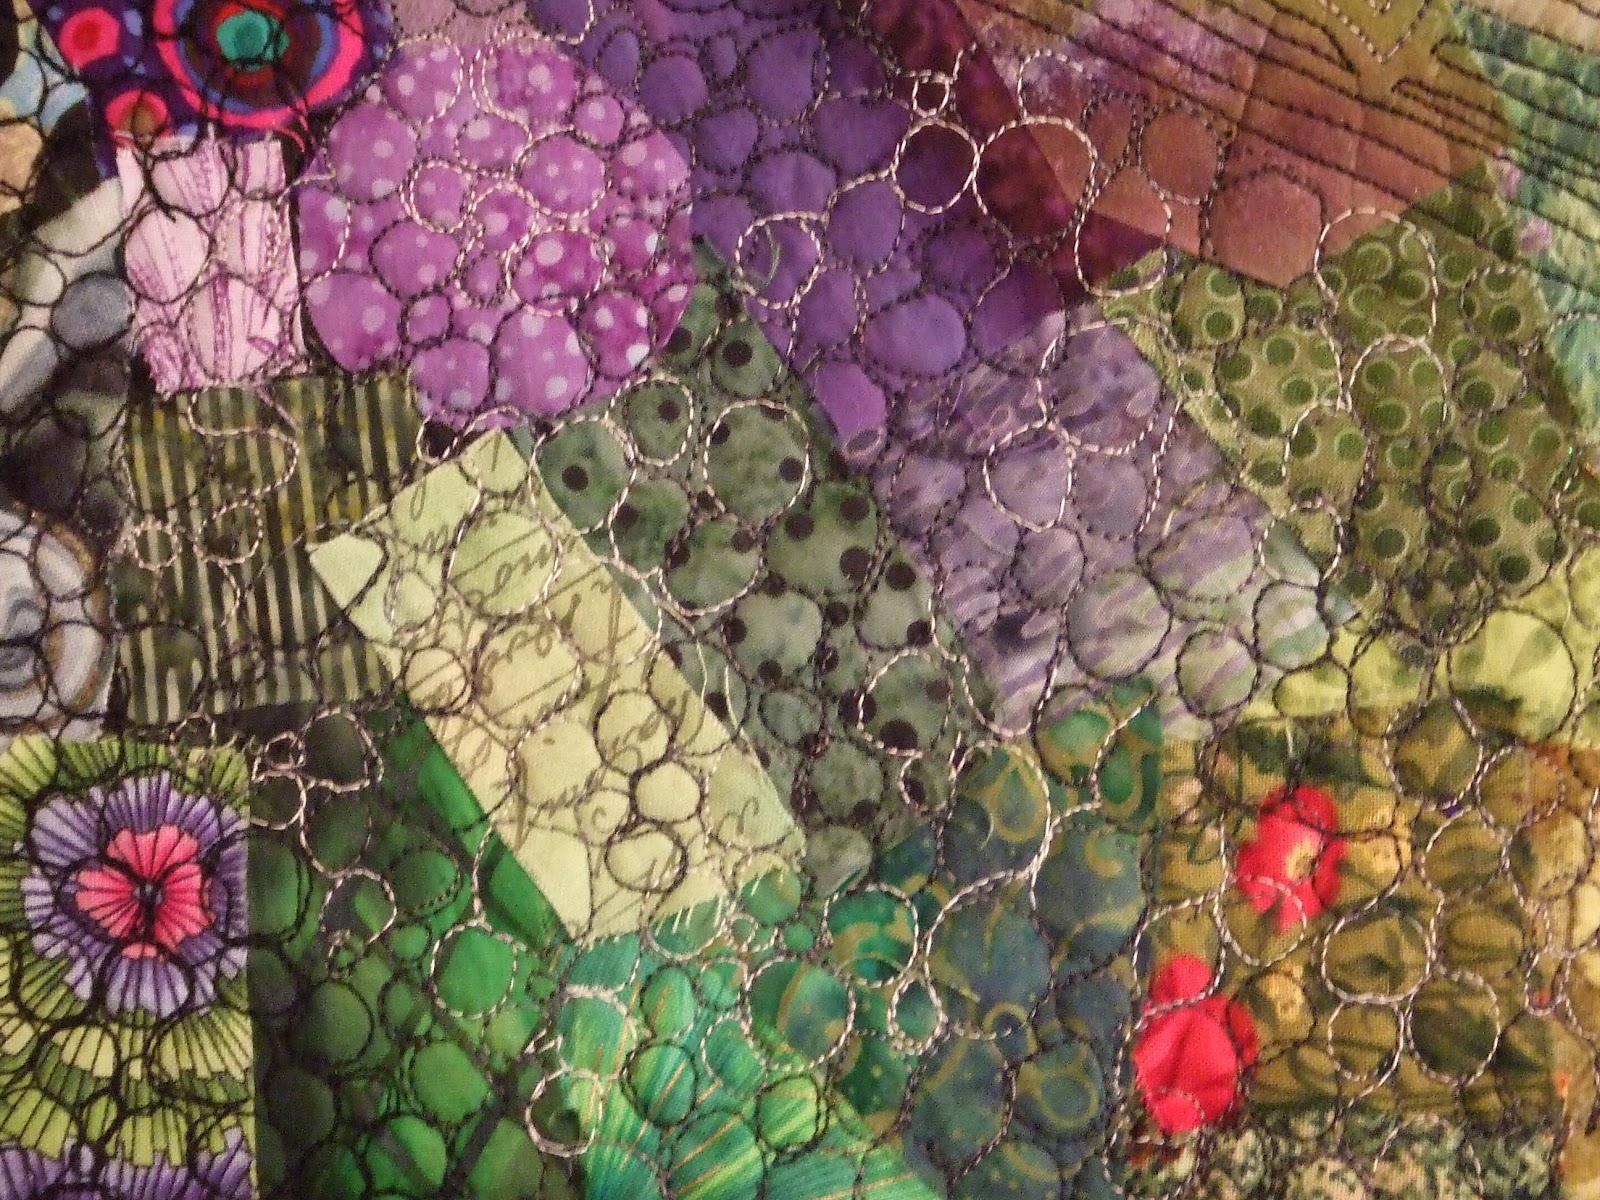
My absence here doesn't mean I've been slacking off, though.  Needing some PLAY time, I freemotion- quilted some scraps onto wool felt, playing around with some quilting motifs and patterns:
Can you spot the 3 ginko leaves?

Quilted pebbles.

Misc. quilting designs.
 Another evening, I made paper cloth (per Beryl Taylor's technique).  Dilute white glue 50/50 with water and use it to "decoupage" decorative paper, tissue paper, Joss paper, bits of torn ephemera (maps, paper placemat from a Chinese restaurant, gift wrap, pretty paper napkins, and pages from a 1937 personal diary -- not mine!) onto a piece of muslin, which has been ironed to freezer paper for stability.  I usually add a little diluted paint  to some of the white areas to add color, but because I'd used bleeding tissue paper, I skipped that step this time.
Paper cloth.

Paper cloth detail.
Once it's dry, paper cloth can be used in mixed media projects and holds up well to stitching.  In fact, I used some in the FMQ stitch sample on wool felt, above, though it's not visible in any of these photos.
My fabric postcard for the Wish Upon a Card show.
Last week, I made another of my "cupcake" fabric postcards and sent it off to the 6th annual Wish Upon a Card  juried show and silent auction.  This project has become the SOSQ's (Sisters' Outdoor Quilt Show) signature fundraiser. Selected cards will be custom framed, compliments of High Desert Frameworks, for this auction.  Cards not selected for framing are sold and proceeds from the sale and silent auction (about $50,000) are donated to Wendy's Wish Foundation, which provides support services for cancer patients in Central Oregon.

Two of our other member, Torrie and Deb, have made pieces for another of SOSQ's fundraisers, Small Wonders.  I'll try to get photos of those quilts to share here.
Our monthly Fiberexplorations meeting is tomorrow night at Deb's, and we're hoping to see her remodeled studio! 


Sunday, April 1, 2012

Project for another group

I'm also a member of the Salem Art Group, and we're having our first group exhibition, Blue.  Here's my contribution:

Sea Hunt.

Sea Hunt, detail.
This project used the fabric collage techniques from Susan Carlson's two books, Freestyle Quilts and Serendipity Quilts.  I made two others years ago, which were my first venture into art quilting.  This one is different, as it's mounted on canvas stretcher bars, for a nice, clean finish.
Here are some of the works by other members.  (Excuse the poor photography; I didn't want to disturb the diners to get my photos, so some are awkward.)

By Dayna Collins.

Three pieces by Jami Moffatt.

Gelatin monoprints by Kathy Shen.

Mixed media painting by Linda West.

Painting by Katy Vigeland.

Second painting by Katy Vigeland.

Beautiful koi painting by Susan Browning (too bad it's blurry!).
I got shots of the others, but none that were good enough to include here.
The show is up through the end of May at Venti's Cafe, downtown Salem on Court St.

Tuesday, March 13, 2012

Our new challenge

Our group enjoyed last year's Fabric Swatch Exchange Challenge so much that we're doing it again this year.  Our finished quilts are already listed as a special exhibit at this summer's Sisters Outdoor Quilt Show (SOSQ) on Sat., July14.
As we did last year, each member does some sort of surface design on fabric, cuts it into 9" square swatches, and exchanges them with other members of the group. The only caveat is that we use the same color palette as this year's SOSQ poster by Kathy Deggendorfer.
This year's poster by Kathy Deggendorfer.
Here are the fabric swatches we exchanged at our Feb. meeting:
2012 Fabric Swatches
If you counted them, you came up with 12, but presently there are only 9 members in Fiberexplorations. The explanation:  some of us got carried away and and created more than one surface-designed fabric, so extra swatches were cut and exchanged.    Here's another view:
An enticing array of color!
It's exciting to see how much our members have progressed!  I compared this new set of swatches with last year's, and everyone was much freer in experimenting and trying new surface design techniques.  This year we see plenty of hand-dyeing, but also the use of DeColourant, shibori, resist work, and even marbling.
Now the real challenge begins -- to design and construct an original quilt using at least some of each of these 12 fabrics, plus others.  Per the SOSQ's requirements, the quilt needs to be at least 36" x 36" and needs to be completed by the end of June.
This year I hope to post photos and notes on most of our members' quilts as they're being constructed.  Unlike other groups, we don't keep our work a secret and then have a big reveal at the end.  Instead, we share our progress along the way.  And if any member requests it, we offer suggestions and advice along the way.  I'm anticipating great results!

Friday, March 9, 2012

Salem OR Guerilla Art Project

Since I have lots of new photos, that must mean I have some catching up to do on this blog!  I'll start with this: Guerilla Art.

Along with other members of the Salem Art Group (another group I'm in), I've been leaving pieces of guerilla art around town.  For anyone unfamiliar with that term, here's how wikidot explains it:

Guerilla art, also referred to as "street art", is a method of art making where the artist leaves anonymous art pieces in public places. It is often an installation in an unauthorized location. It is a way for an artist to express their views and opinions to a large audience in an anonymous way. In contrast to popular belief, guerilla art does not have to be done with spray paint.  There is no one motivation for making guerilla art. However, popular reasons include statement making, the sharing of ideas, the desire to send out good karma, just for fun, or to make a political statement.  (My reasons are those that are underlined.)

Here are the cards I made.  I carry them with me and leave in various places around town for people to find.  Actually, that's what I plan to do.  So far, I left one for a friend  who owns an art store (as a belated birthday greeting).  I'm having a hard time parting with the others.  So silly.  What good do they do me bundled in a baggie in my purse?  They're to spread out in the world and send good karma.

 
Collaged cards


These cards began as pieces of dyed cheesecloth, bits of ribbons, printed and handmade papers, bleeding tissue papers, transparent fabrics, stamped fabric, etc. sandwiched between layers of very fine MistyFuse, then ironed to fuse together, as below:
Fused collage


The final step was to cut the collage into 6 rectangles; each was fused onto a piece of watercolor paper and finished with a little hand-stitching in gold metallic thread. Glass beads were added to a few of the cards.

 Tomorrow I will leave some of these around town.